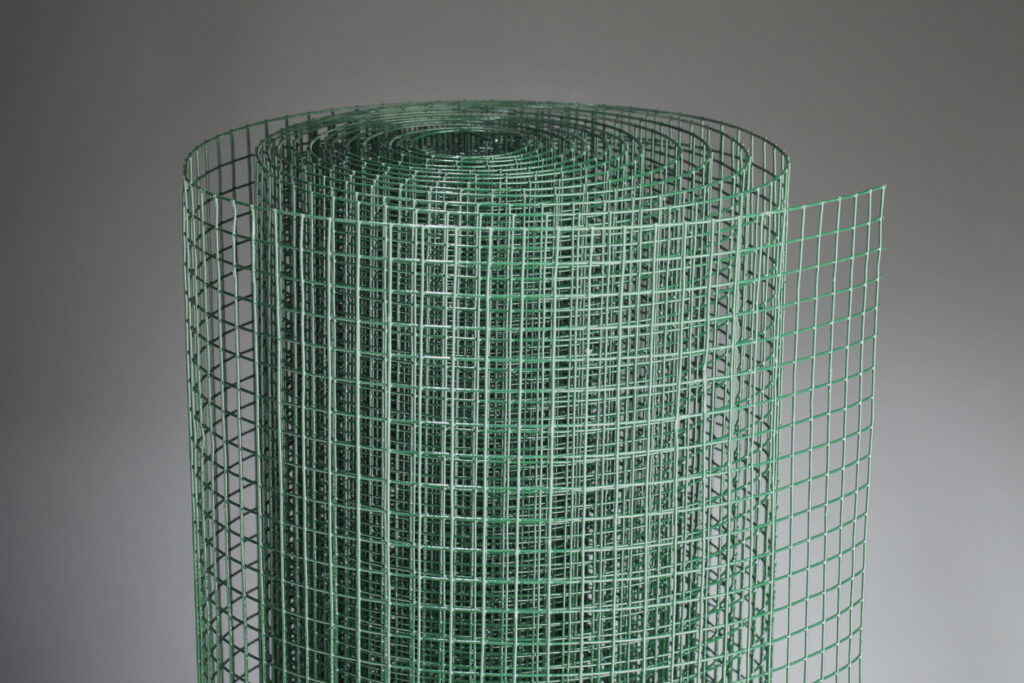
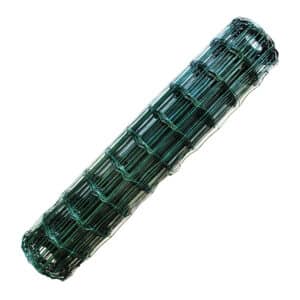
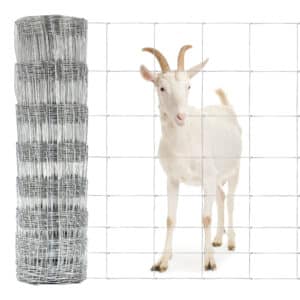
When it comes to setting up durable and effective boundaries for livestock our C8/80/15 metal meshfencing is a popular and reliable choice.
This type of fencing is known for its strength, durability, and versatility, making it ideal for a range of agricultural and livestock applications.
However, correct installation is key to ensuring its effectiveness and longevity. In this guide, we’ll walk you through a step-by-step process for installing C8/80/15 stock fencing, while highlighting best practices and common pitfalls to avoid.
Let’s get into it…
Step 1: Planning and Preparation
Assess Your Needs
Before purchasing your fencing, evaluate the area where the fence will be installed. Consider the type of livestock you are containing and the terrain of your land.
This assessment will guide the quantity and type of materials you’ll need.
Mark the locations of your fence posts, making sure that they are evenly spaced apart from one another. There can be some variation in the spacing, but it is generally recommended that the spacing be three metres apart for optimal stability.
Digging Holes
Dig holes for your fence posts using a post hole digger or an auger if you are using a post hole digger. To ensure the stability of the posts, the depth of the holes should be approximately one-third the height of the posts.
Installing the Posts
It is necessary to place the posts in the holes that have already been dug as soon as they have been dug. To make sure that they are straight, you should use a spirit level to ensure that they are level. It is recommended that you backfill the post holes with soil and tamp down the soil around each post in order to ensure that the posts are firm. For additional stability, it is recommended that you use concrete, especially if the soil is loose and prone to shifting.
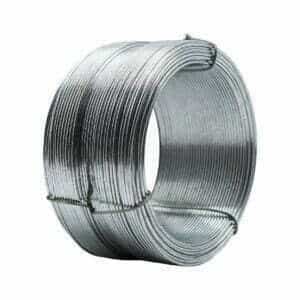
Step 3: Attaching the Straining Wire
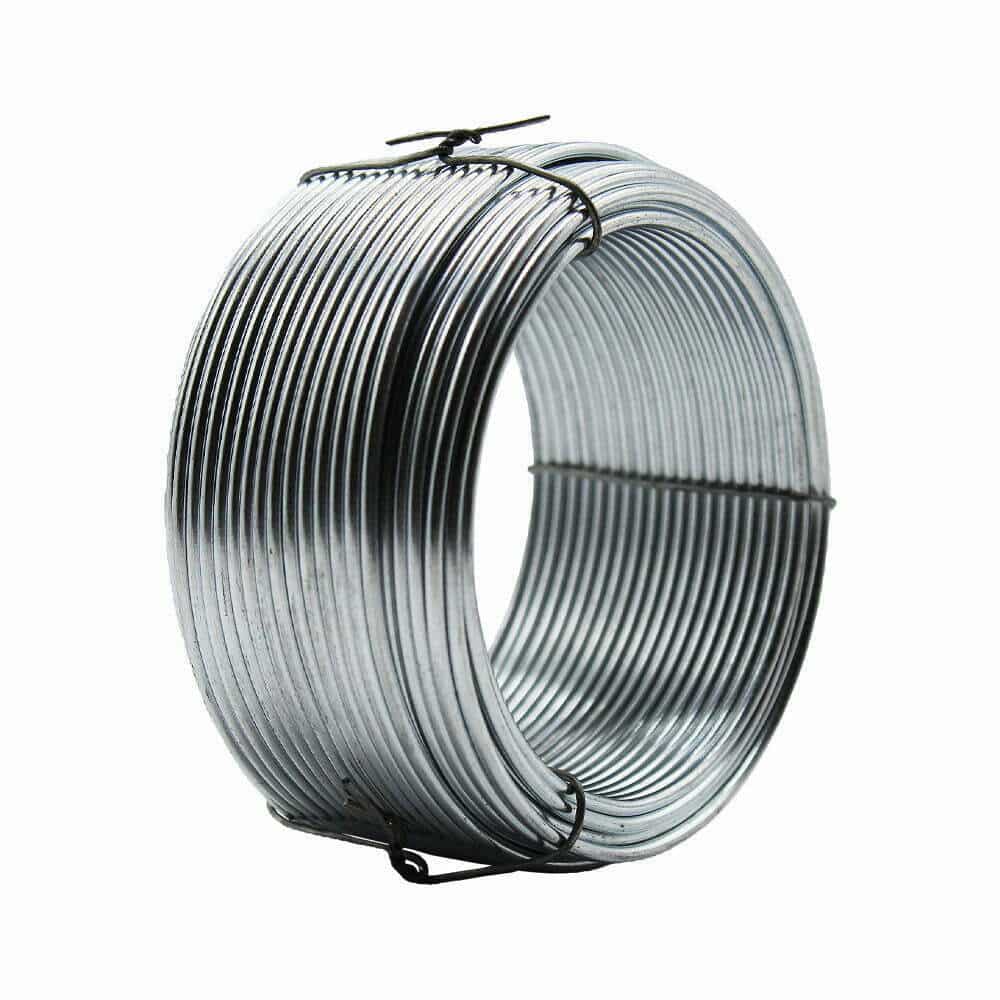
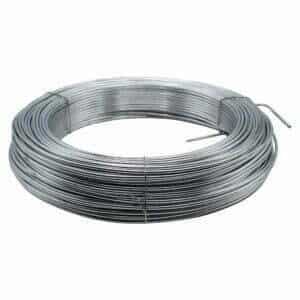
Straining wire is crucial for the stability of your fence.
It provides the necessary tension to keep the fencing upright and secure, ensuring that it can withstand the pressures exerted by livestock and environmental elements.
Luckily we specialise in wire too. Here’s a look at each type and their specific advantages:
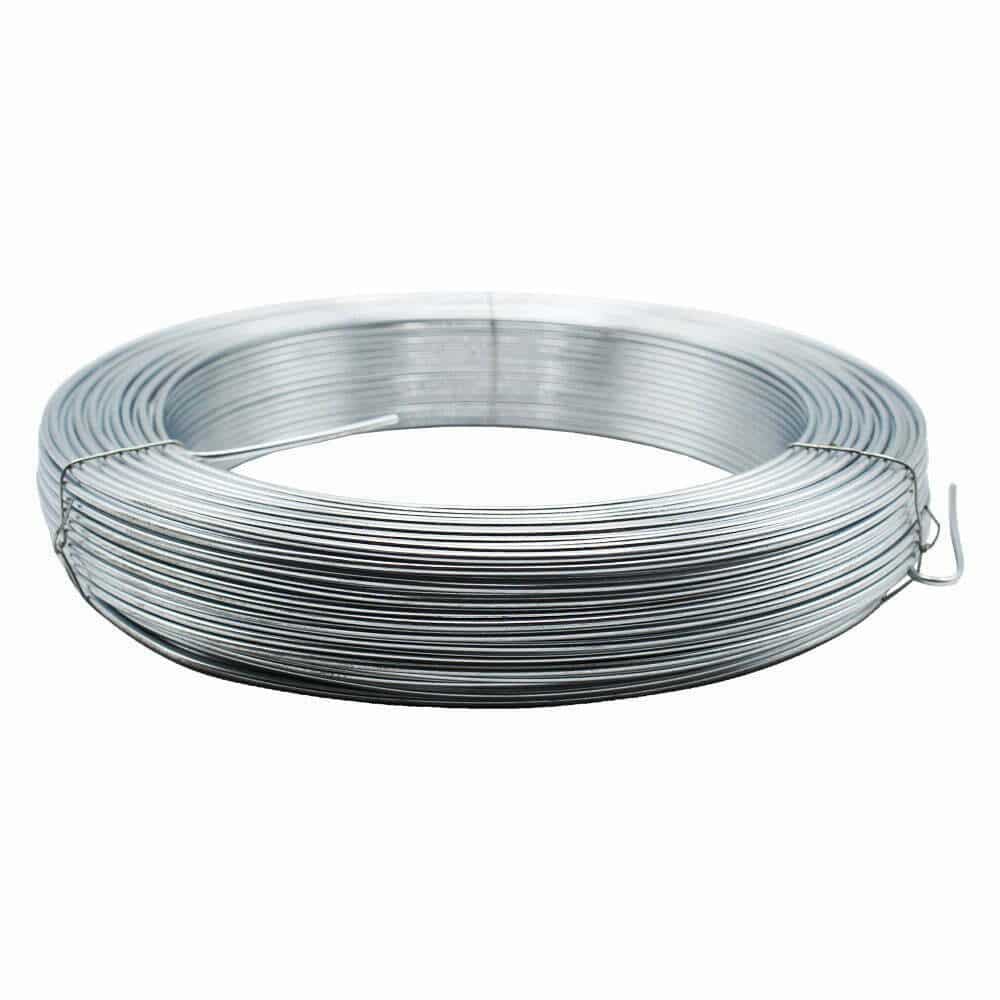
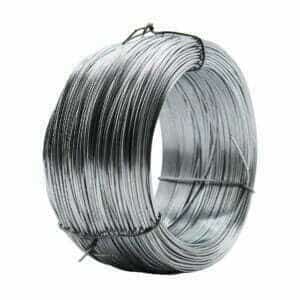
This 1mm thick wire is ideal for lighter fencing applications where minimal tension is required. It’s perfect for small animal enclosures or areas with low livestock pressure.
The 80-metre length is suitable for smaller fencing projects, making it a cost-effective and convenient option.
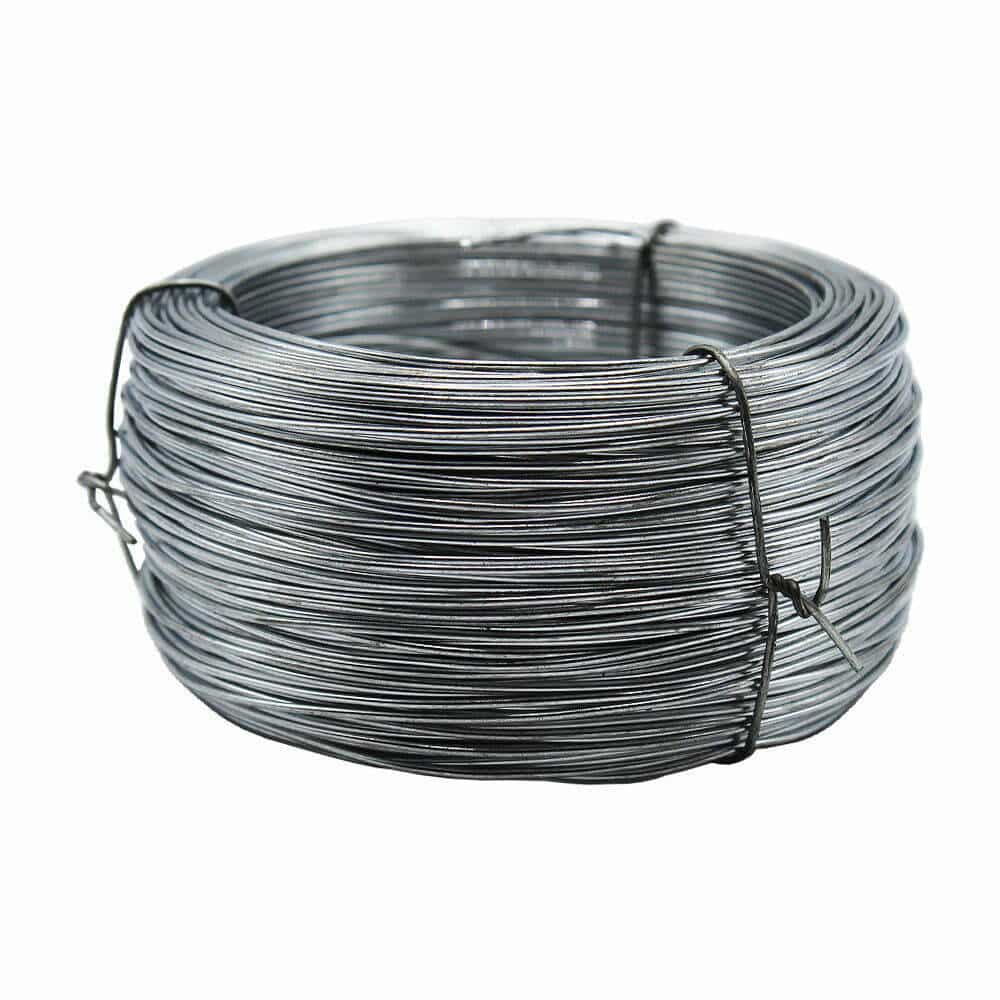
Slightly thicker at 1.25mm, this tension wire offers greater durability and strength compared to the 1mm variant. It’s suitable for medium-sized enclosures and areas where a bit more strength is needed to keep the fence line secure.
The 50-metre coil is ideal for moderate-sized projects.
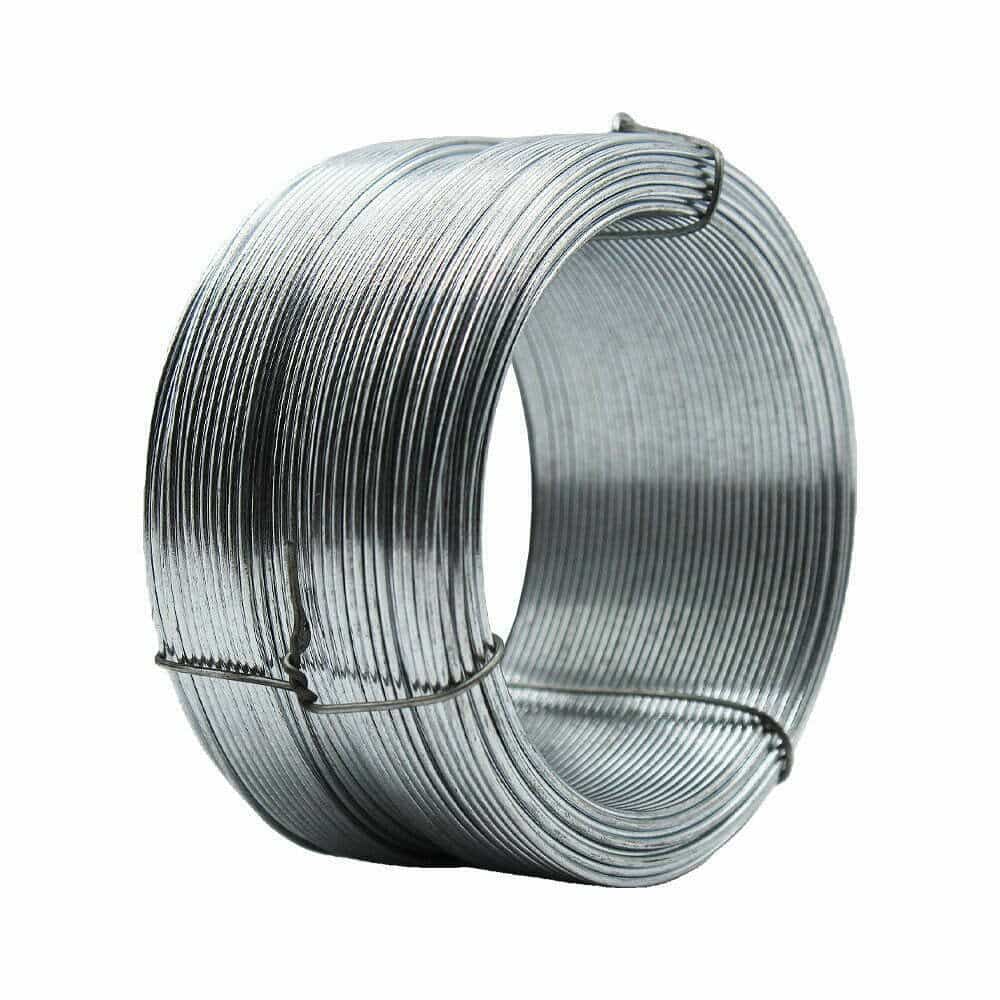
The 1.6mm thick wire provides increased strength and durability, making it well-suited for areas with higher livestock density or for perimeters that require more robust fencing.
Its 30-metre coil is perfect for targeted applications where strong fencing is paramount.
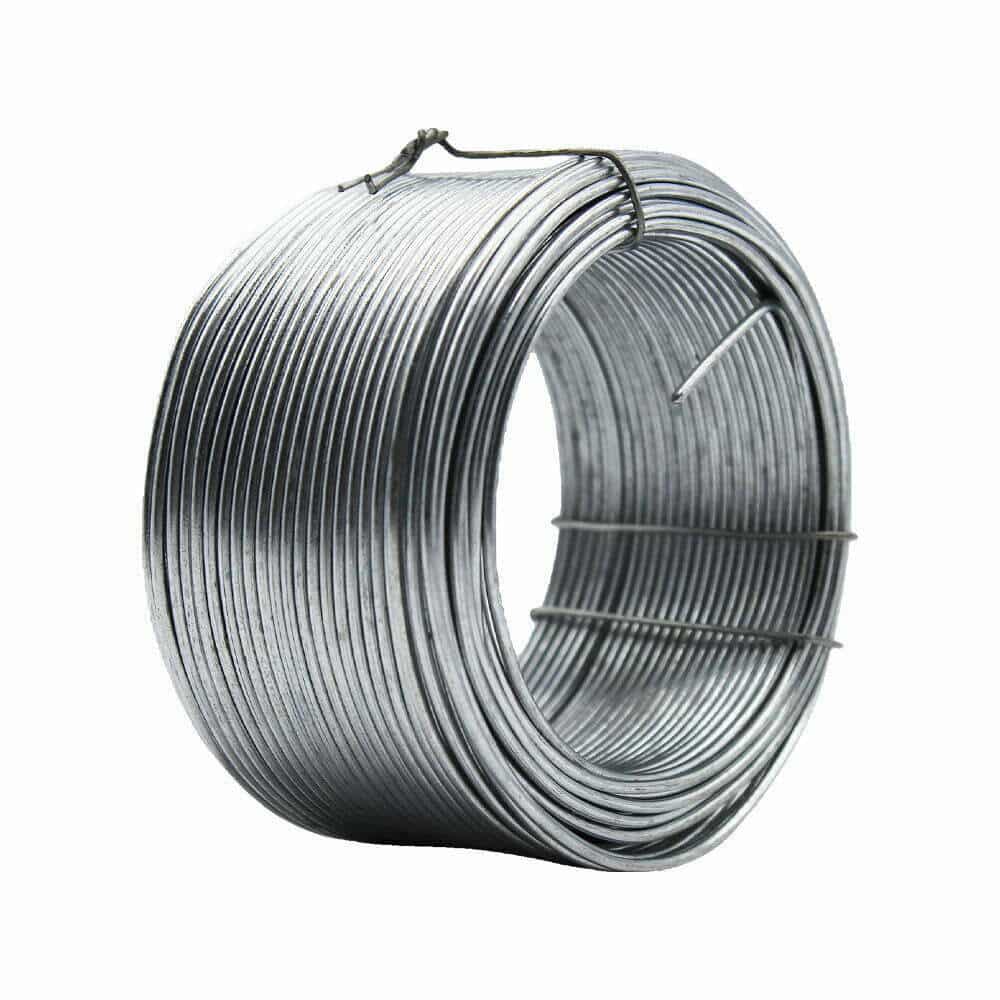
At 2mm thickness, this wire is designed for heavy-duty applications. It offers superior strength and is ideal for fencing in larger animals or in areas prone to intense environmental pressures.
The 20-metre length is great for focused, high-strength fencing needs.
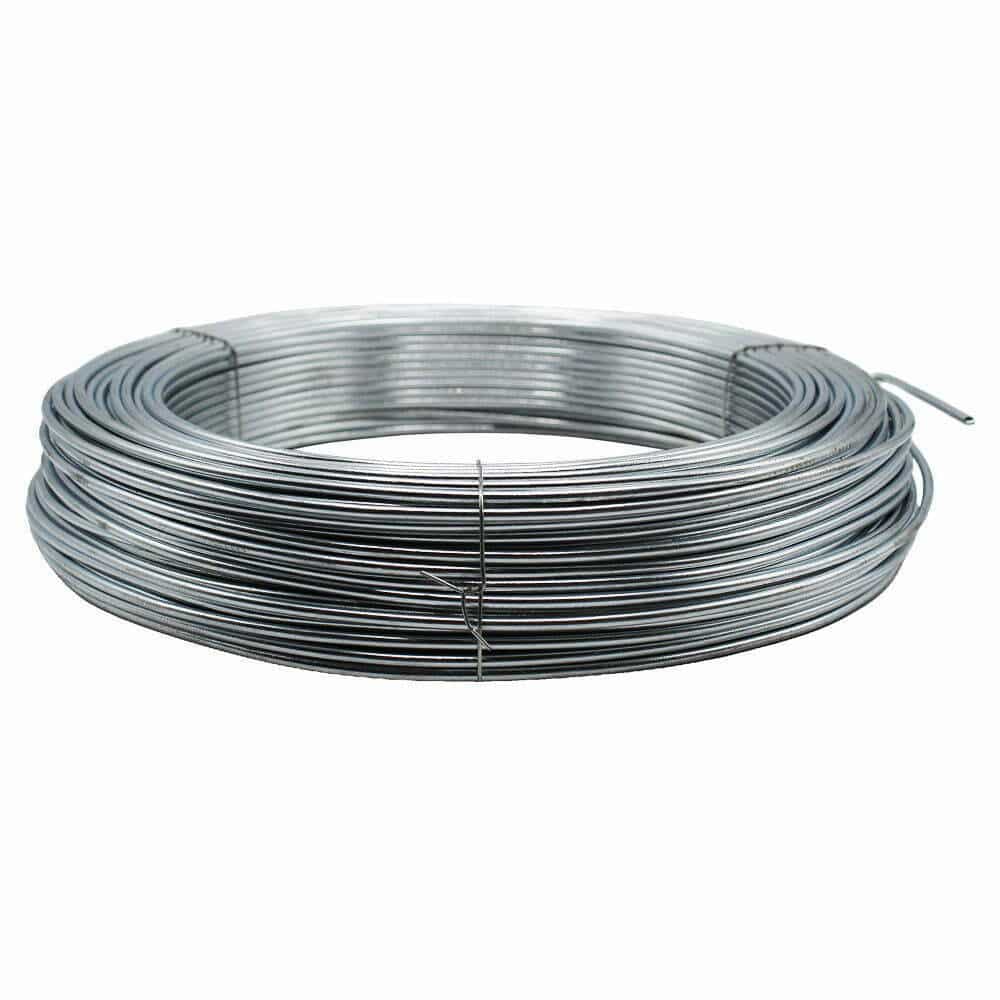
This 2.5mm thick wire in a 5kg coil combines strength with length, making it a versatile choice for a variety of fencing projects. Its extended length of 130 metres is ideal for larger areas, ensuring that you have enough wire for extensive fencing without compromising on strength and durability.
Similar in thickness to the previous option but offering double the length, this 10kg coil is perfect for very large fencing projects. The 2.5mm thickness ensures that the fencing remains robust and durable, even over extensive distances.
For the most demanding fencing requirements, the 3mm thick wire is the strongest in our range. Suitable for the toughest conditions and largest animals, it guarantees maximum durability and security. The 80-metre length is ideal for substantial projects where the highest level of fencing integrity is required.
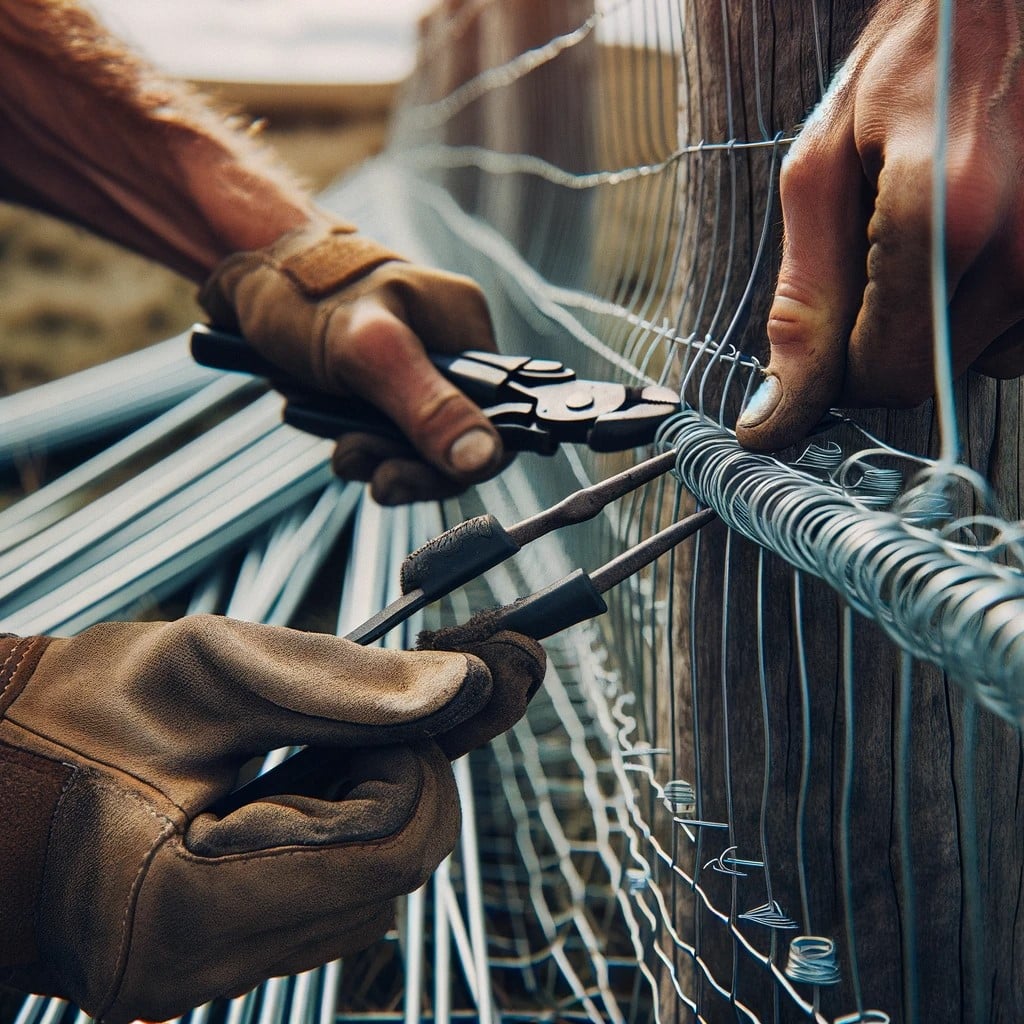
It should be attached at the top, middle, and bottom of your fence posts. Ensure it is taut and securely fastened to each post using staples or fencing clips.
Step 4: Unrolling and Attaching the Mesh
Positioning the Mesh
In order to install your fence, unroll the C8/80/15 metal mesh along the fence line. If you have someone to assist you with this step, it will be easier for you to handle and be more efficient if you have their help.
Securing the Mesh
Attach the mesh to the straining wire and the fence posts using the straining wire. In order to make the mesh taut as you work along, start at one end of the mesh and secure it to the corner post with staples or clips, then gradually work your way along the mesh, pulling the mesh taut as you go. It is important to ensure that the bottom edge of the mesh is close to the ground in order to prevent animals from slipping under it.
Step 5: Tensioning and Final Adjustments
Make sure the mesh is firm and upright by tensioning it with a wire tensioning tool. To prevent sagging, this step is crucial. Ensure the fence is tight and secure by checking its length and making any necessary adjustments.
Step 5: Tensioning and Final Adjustments
As soon as your fence is installed, you should inspect it regularly, especially after extreme weather conditions. To maintain the integrity of the fence, make sure all loose sections are tightened and damaged parts are replaced as soon as possible.
Common Mistakes to Avoid
Inadequate Post Depth: Not setting posts deep enough can lead to instability.
Ignoring Terrain: Failing to consider the lay of the land can result in uneven installation.
Poor Tensioning: Inadequate tensioning leads to a saggy fence, compromising its effectiveness.
Neglecting Regular Maintenance: Regular checks are essential for long-term durability.
As long as you follow these steps and are aware of the common mistakes to avoid, you will be able to install C8/80/15 metal mesh fencing that is both strong and effective in containing livestock. A well-installed fence not only ensures the safety of your animals, but it also represents your commitment to quality and safety in the management of your livestock.
As always, thank you for checking out our blog. We hope that this helps you with your project. We try to launch a couple of new guides every week. Eventually we will have covered everything there is to cover about mesh.