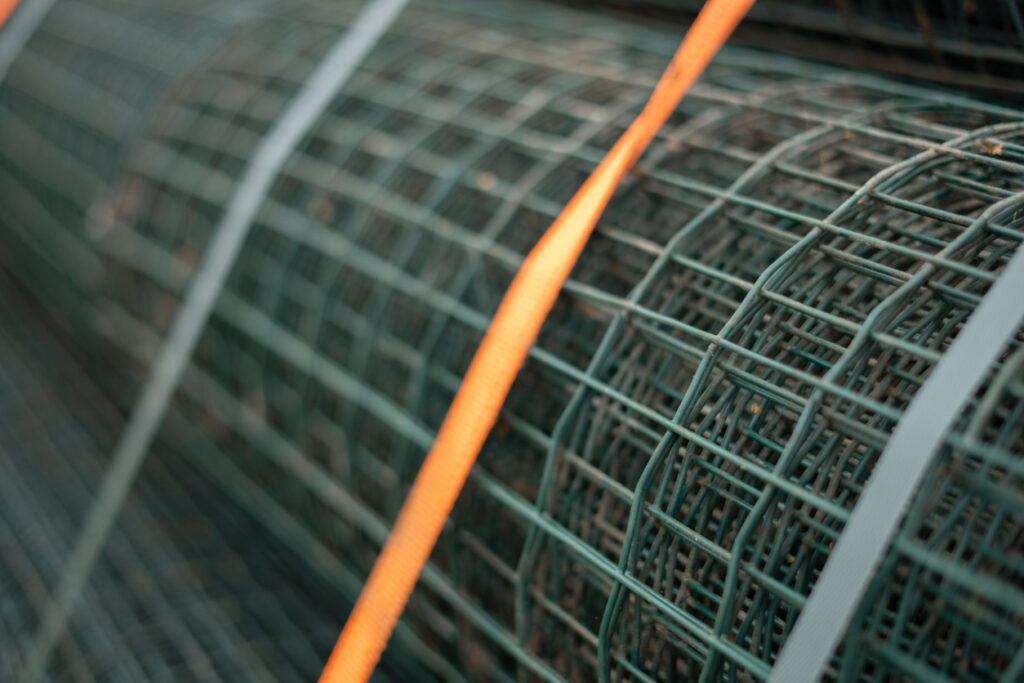


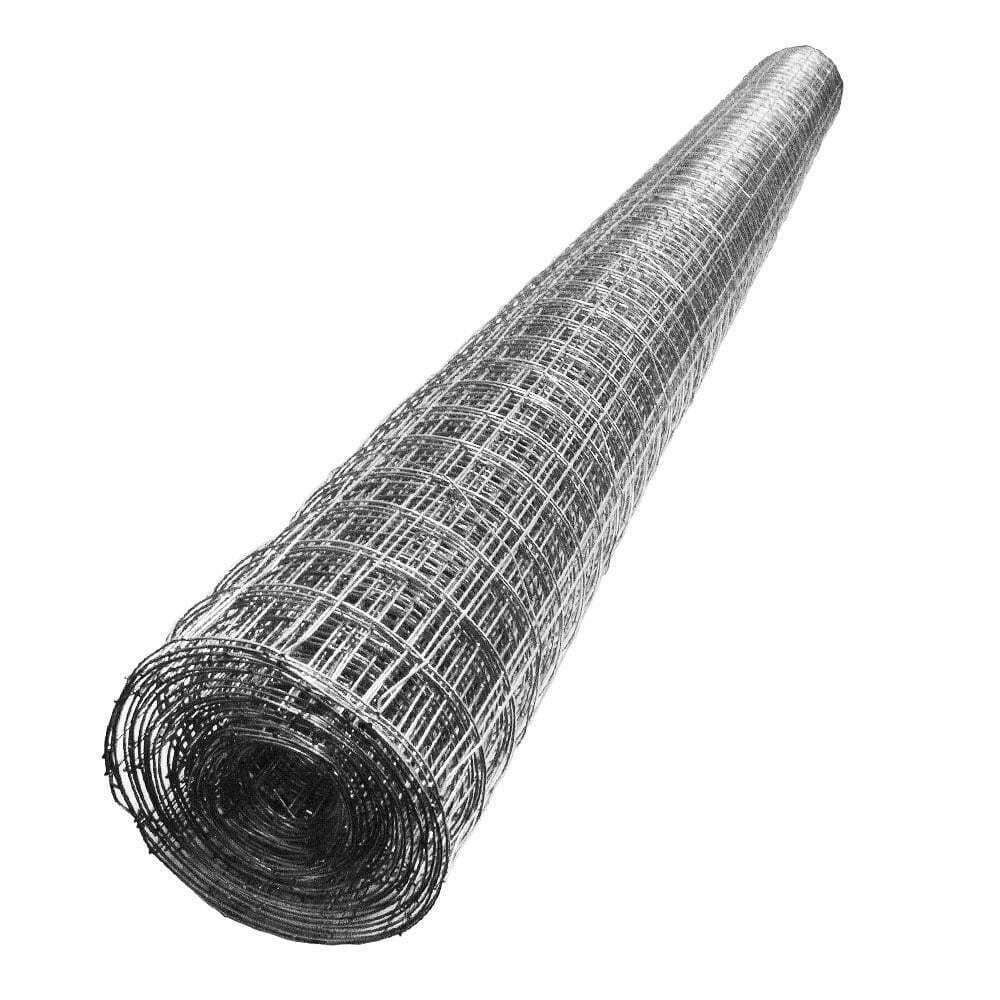
When you invest in a quality product like the 1″ galvanised weld mesh roll, you want to ensure that it’s installed correctly. A proper installation not only guarantees that the mesh serves its intended purpose but also ensures it lasts a long time. In this guide, we’ll walk you through the essential steps for an effective and long-lasting installation of your galvanised weld mesh roll.
Let’s get into it…
Before diving into the installation process, it’s crucial to have all the necessary tools and equipment on hand. For a 1″ galvanised weld mesh roll, you’ll need:
Start by measuring the area where you intend to install the mesh. Once you have the dimensions, unroll your galvanised weld mesh and mark the required measurements. Using tin snips or wire cutters, cut along the markings.
Ensure that you’re wearing gloves during this process to protect against potential injuries from sharp edges.
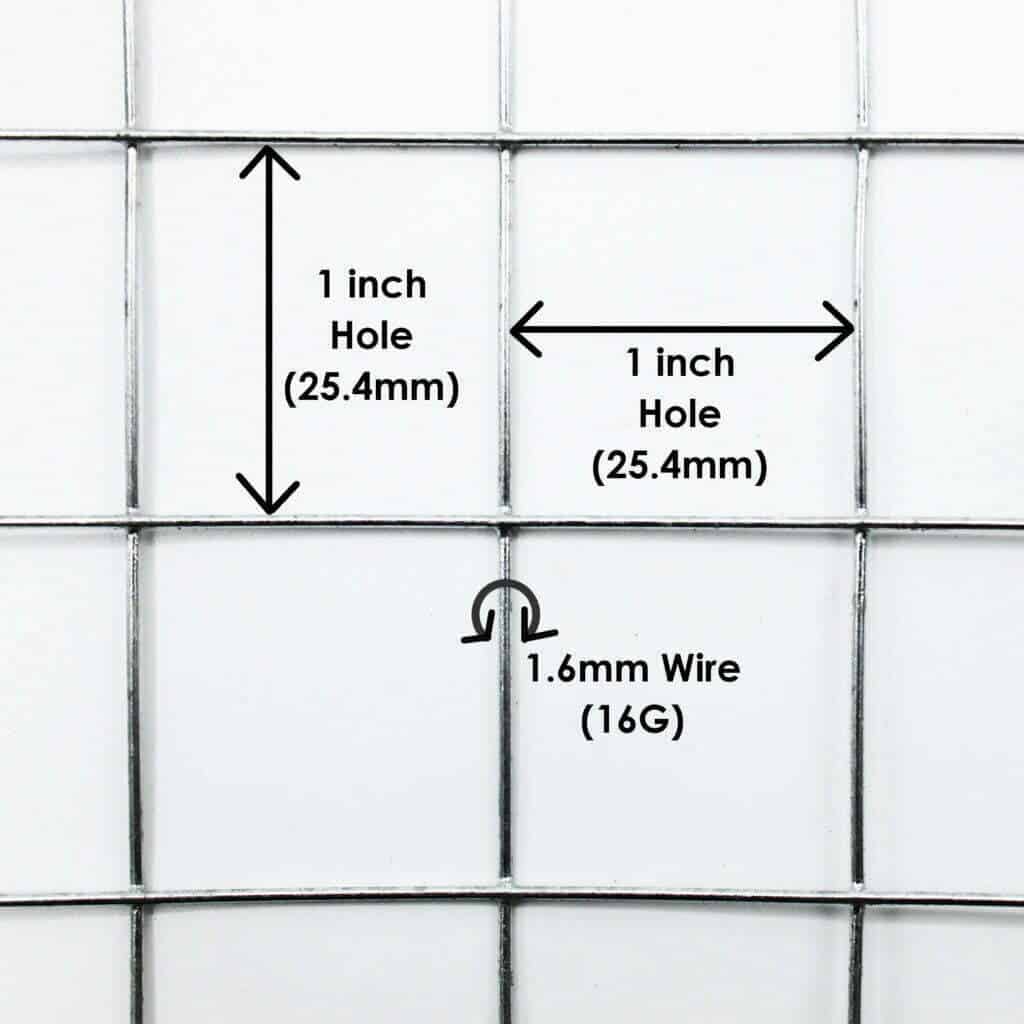
In ground installations, mesh choice can have a significant impact on the project’s success. In addition to their versatility, galvanised weld mesh rolls of 1″ size are a preferred option for a variety of compelling reasons. The 1″ mesh size strikes the perfect balance between openness and structural support. In addition to allowing ample airflow and visibility, it effectively contains or supports materials and organisms.
Its openings are perfectly spaced to allow plants to intertwine their tendrils while providing the stability they need to flourish in gardening and landscaping.
The 1″ mesh also acts as a trustworthy barrier when it comes to protecting poultry, rabbits, and other small animals in enclosures. While still allowing for proper ventilation and visibility, it prevents escape and ensures protection from potential predators.
In areas prone to erosion, this mesh can serve as a soil stabiliser. By holding topsoil in place while allowing water to flow through, it prevents soil erosion. If slopes or embankments need to be maintained, this feature is invaluable.
1″ mesh is also instrumental in managing drainage. Whether used over drainage ditches, gravel beds, or in landscaping to direct water flow, it filters debris and prevents clogging, ensuring efficient drainage systems.
In addition to its durability, galvanised weld mesh is highly favored for ground installations due to its protective zinc coating. Your project will last longer since it can withstand moisture and soil exposure.
Installation is a breeze with this mesh. In order to maintain tautness and stability, ground stakes or U-shaped garden pins can be used to secure it to the ground. Moreover, its flexibility makes it easy to customise, ensuring that it fits specific project dimensions without requiring complex modifications.
For ground installations, like creating plant supports or animal barriers:
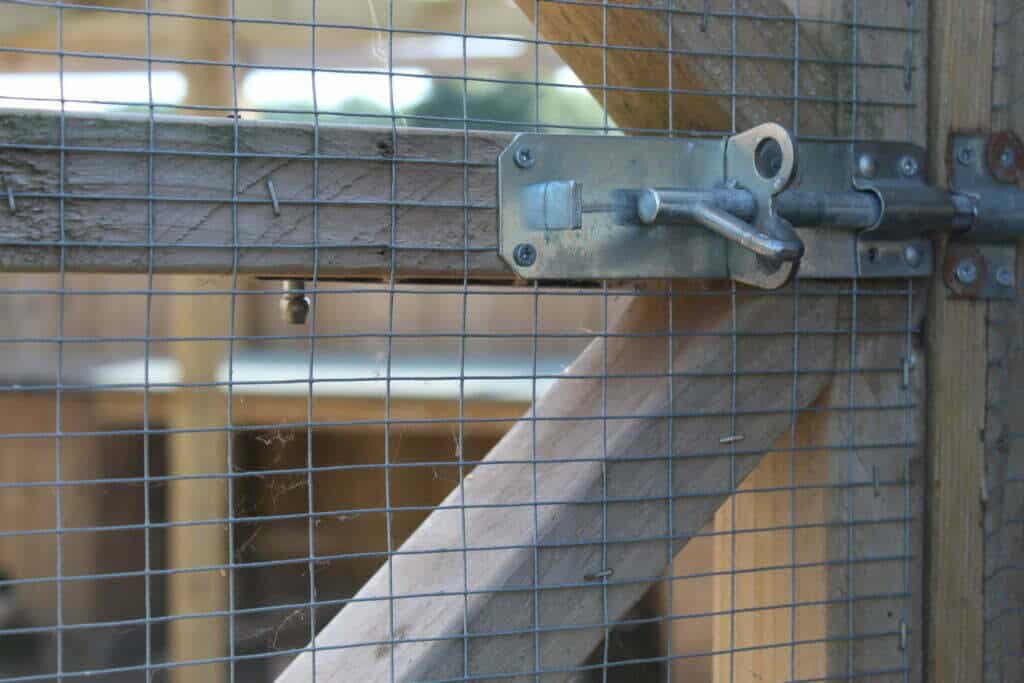
Galvanised weld mesh is a preferred option for framed installations due to its several compelling advantages. Its versatility and balance between openness and structural support are key strengths that translate seamlessly into framed applications. This mesh roll is perfect for fencing, gates, and any other project that requires a sturdy frame, whether you’re working on fencing, gates, or anything else.
Despite its large openings, the 1″ mesh fencing provides effective security without compromising visibility. The openings are large enough to allow a clear view while maintaining a robust barrier. This is ideal for properties where security is important, but you don’t want to block your view.
As a gate mesh, the 1″ mesh provides both security and aesthetics. The uniform pattern ensures a clean and professional appearance while offering the required strength.
Additionally, 1″ mesh can be used as a structural element in construction and architecture, reinforcing concrete while remaining unobtrusive.
If you’re attaching the mesh to a frame (eg for fencing or gates):
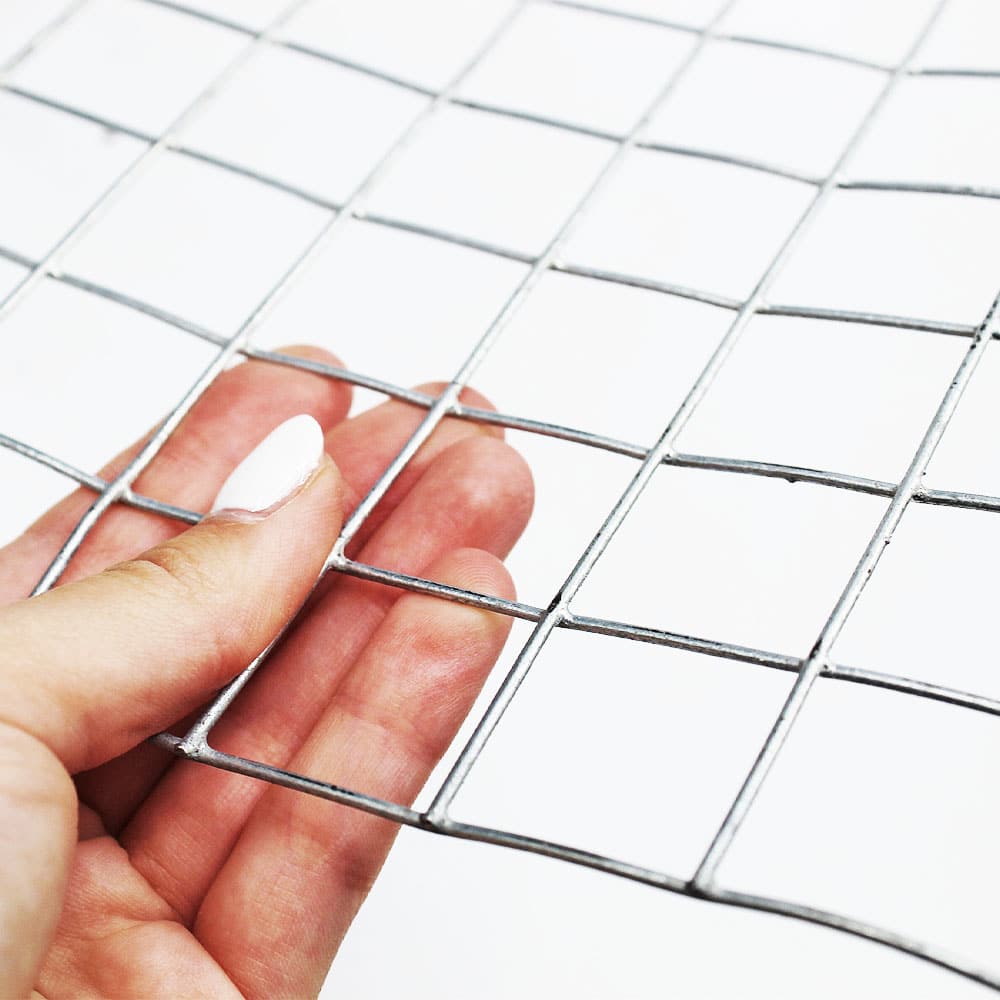
When it comes to wall installations, the 1″ galvanised weld mesh roll offers a practical and durable solution. Its versatility and durability, owing to the protective zinc coating, make it suitable for various wall-mounted applications. Whether you’re creating trellises, wall-mounted barriers, or decorative elements, the 1″ mesh provides a secure and visually pleasing option.
With its spacious openings, the 1″ mesh provides a great surface for climbing plants to cling to; the mesh itself provides the necessary support.
Mesh can enhance security without sacrificing aesthetics when used as a wall-mounted barrier. With screws and washers, it can be attached to walls, ensuring stability and durability.
A 1″ mesh roll can be used to create visually appealing elements on walls. Its uniform pattern and galvanised finish make it a great choice for decorative purposes.
For walls (eg. trellises or wall mounted barriers):
If your installation area is extensive, you might need to join multiple mesh rolls. To do this:
One of the benefits of galvanised weld mesh is its low maintenance. However, periodic inspections are advisable. Check for any signs of wear or damage, especially after extreme weather conditions, and make necessary adjustments.
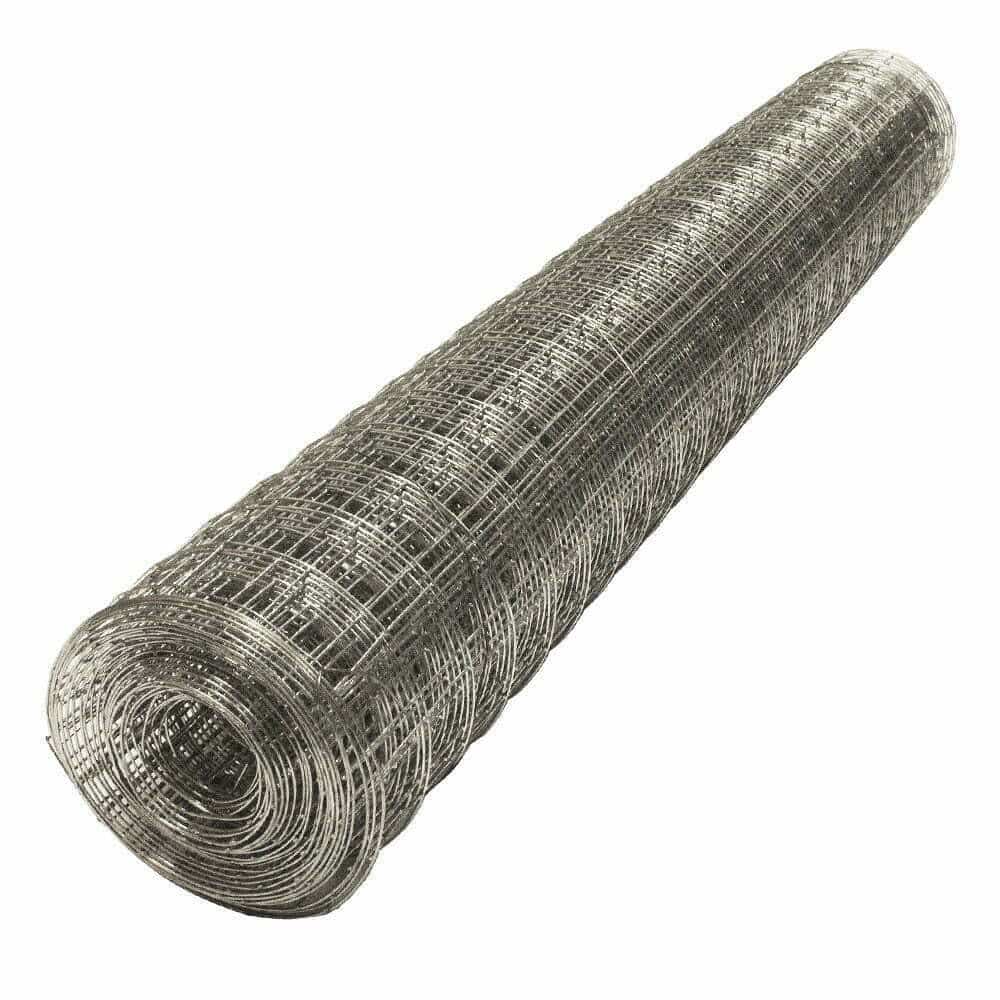
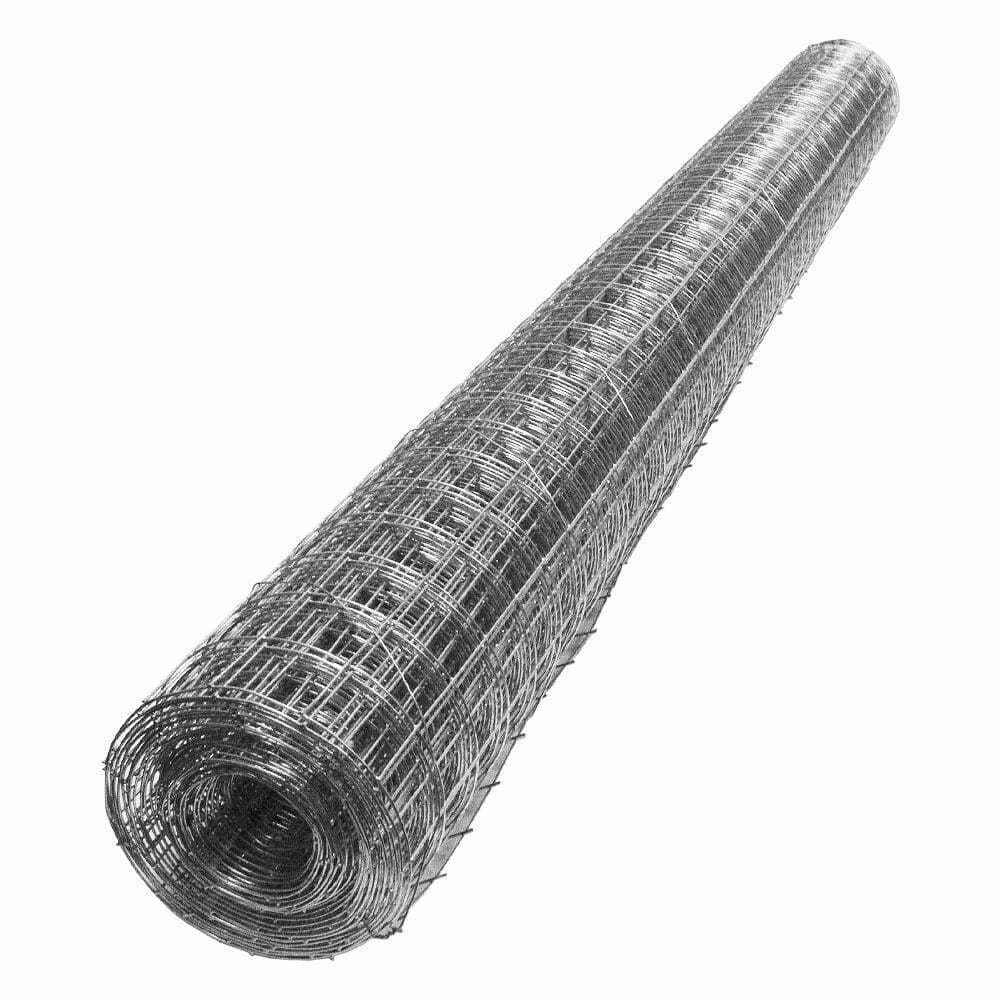

The 1″ galvanised weld mesh roll is a versatile and durable product, suitable for various applications. Whether you’re using it for gardening, fencing, or crafting, the key to its longevity and effectiveness lies in proper installation. By following the steps outlined in this guide, you’ll ensure that your mesh serves its purpose and stands the test of time.
Remember, always prioritise safety during installation and use the right tools for the job.
And if you rather something with a smaller hole and more wires per inch, then we offer a large range of 1/2″ (13mm) hole welded mesh too.
As always, thank you for checking out our blog. We hope that this helps you with your project. We try to launch a couple of new guides every week. Eventually we will have covered everything there is to cover about mesh.
You may be interested in our blog that explores how to build a chicken coop.
Our goal for our blogs and help guides is to answer as many questions as possible to help to explain the possibilities of mesh to our customers.

