Rabbits can be a major nuisance, whether they are damaging crops, digging holes in gardens, or gaining access to areas they shouldn’t be in.
Installing rabbit netting correctly is the best way to protect your land and ensure that these persistent animals don’t find their way through or underneath your fencing. In this guide, we’ll walk you through everything you need to know about installing rabbit netting efficiently and securely.

Why Install Rabbit Netting?
Rabbit netting is an essential barrier for landowners, farmers, and gardeners who want to keep their outdoor spaces free from damage. Rabbits can:
- Eat plants, crops, and saplings.
- Dig holes and weaken soil structures.
- Cause damage to lawns and garden spaces.
- Enter restricted areas such as chicken runs and enclosures.
Installing proper rabbit netting is a cost-effective, humane way to deter them while allowing air, light, and water to pass through.

Choosing the Right Rabbit Netting
Before beginning installation, it’s crucial to select the right netting for your needs. The Mesh Company offers 31mm galvanised steel rabbit netting, a highly durable and effective option for keeping rabbits at bay.
Key Features of Our Rabbit Netting
- 31mm aperture – Small enough to prevent rabbits from squeezing through.
- Galvanised steel – Provides rust and corrosion resistance for outdoor use.
- Supplied in rolls – Available in 50-metre x 1050mm sizes for large-scale fencing.
For long-term performance, galvanised steel netting is preferable over plastic-coated alternatives, as it maintains its strength and structure over time.

Essential Tools & Materials for Installation
Before you begin, gather all the necessary tools and materials to ensure a smooth installation process.
What You’ll Need:
✔ Rabbit netting (31mm galvanised steel) – Available here
✔ Fence posts – Wooden or metal, spaced at 2.5m intervals
✔ 2mm or 2.5mm tension wire – Provides additional stability at the top and bottom of the fence
✔ Fence staples or clips – For securing the netting to wooden posts
✔ Wire cutters – For cutting netting to the required size
✔ Spade/shovel – To dig a trench for burrowing protection
✔ Hammer/mallet – For securing fence posts into the ground
✔ Protective gloves – To prevent injury while handling wire
Step-by-Step Guide to Installing Rabbit Netting
Step 1: Marking Out the Fence Line
Start by planning where the netting will be installed. Use string or temporary markers to map out the area where the fence posts will go. This ensures an even and secure installation.
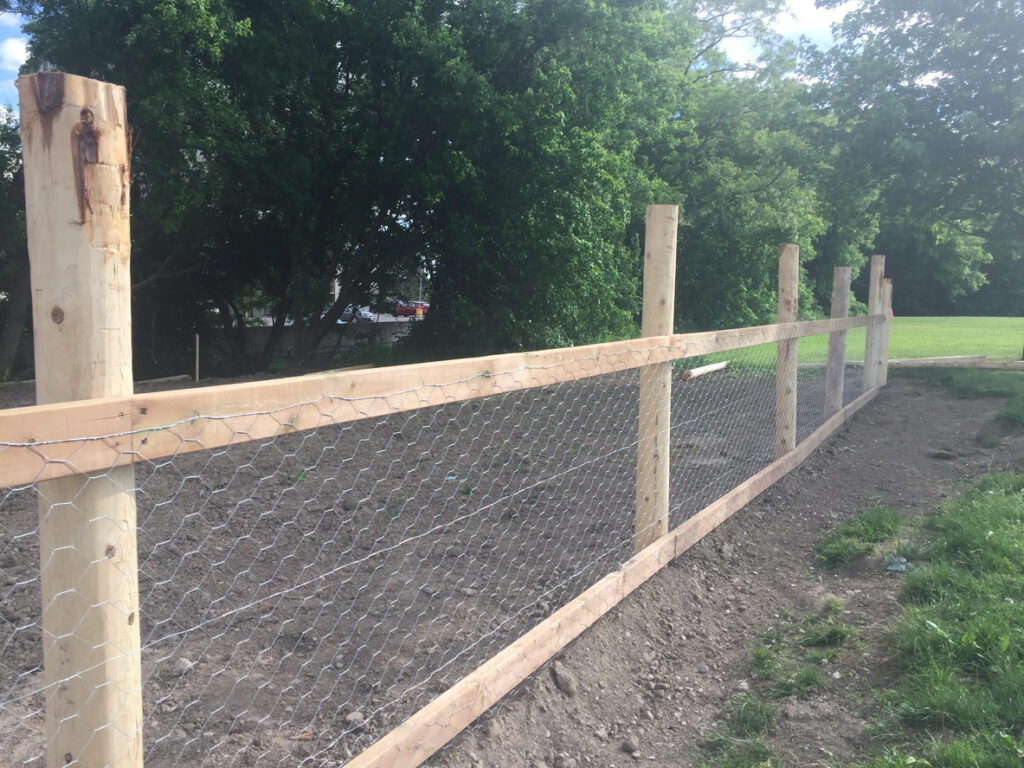
Step 2: Installing Fence Posts
Fence posts should be placed 2.5 metres apart to provide a stable structure for the netting. You can use:
Wooden posts – Traditional and sturdy.
Metal stakes – Easier to install and longer-lasting in wet conditions.
Make sure the posts are driven deep enough into the ground (at least 600mm deep) to withstand pressure from wind and animals.
Step 3: Attaching the Tension Wire
Run a 2mm or 2.5mm line wire along the top and bottom of the fence line. This will provide extra support to the netting and prevent sagging over time.
Secure the tension wire tightly to each post using staples (for wooden posts) or clips (for metal posts).
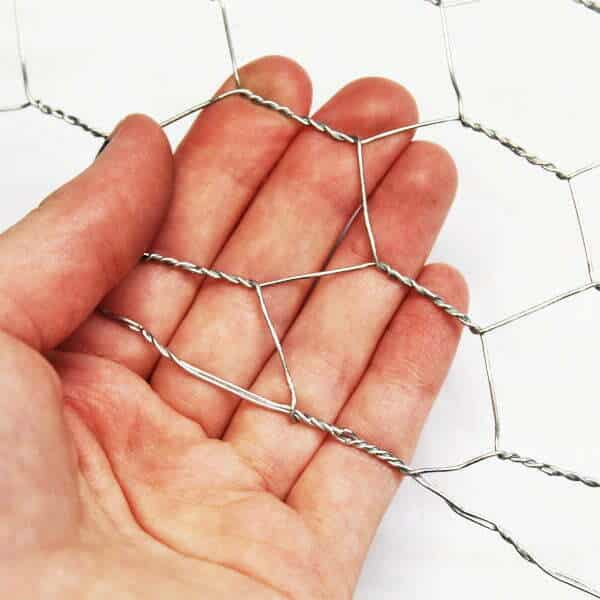
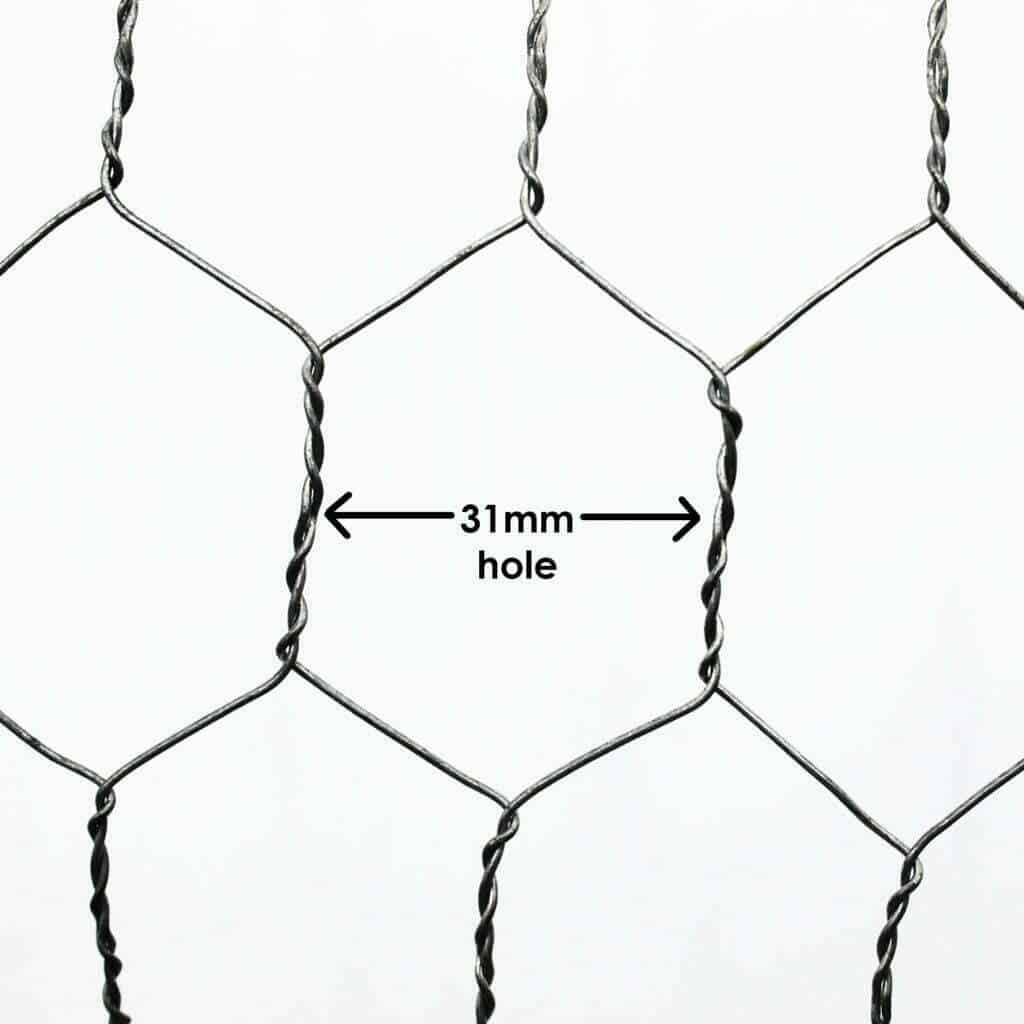
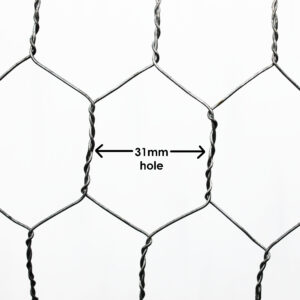
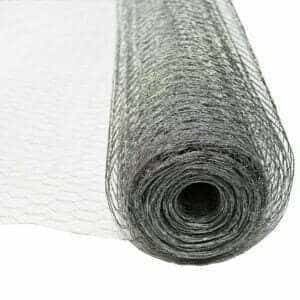
Step 4: Attaching the Rabbit Netting
Now that your posts and tension wire are in place, it’s time to attach the rabbit netting.
Roll out the netting along the fence line.
Secure the top of the netting to the tension wire using fencing staples or clips.
Fix the netting to each post, pulling it tight to avoid sagging.
Attach the bottom tension wire, securing the netting firmly in place.
💡 Pro Tip: Always ensure that the netting is pulled taut before securing it to prevent gaps or weaknesses.
Step 5: Creating a Burrowing Barrier
Rabbits are known for burrowing under fences, so installing an underground barrier is essential.
How to Prevent Rabbits from Digging Under the Fence:
- Bend the bottom of the netting outward at a 90-degree angle to create an “L” shape.
- Dig a trench around 150mm deep and bury the folded section.
- Backfill the trench with soil to hold the netting securely in place.
This method prevents rabbits from tunnelling underneath, as they will encounter the buried mesh instead of open soil.


Additional Tips for a Strong Installation
- Overlap sections of netting by at least 100mm where two rolls meet to maintain continuity.
- Regularly inspect the fence for signs of damage, rust, or gaps.
- For extra security, consider adding a second, smaller mesh layer to areas where burrowing activity is frequent.
Alternative Uses for Rabbit Netting
Rabbit netting is highly versatile and can be used for:
✔ Protecting vegetable gardens
✔ Securing chicken coops and poultry enclosures
✔ Preventing pests from accessing compost bins
✔ Reinforcing garden fencing
Maintenance & Long-Term Care
To ensure your rabbit netting remains effective, follow these simple maintenance tips:
- Check for damage every few months, especially after storms or extreme weather.
- Re-secure loose netting to posts or tension wires as needed.
- Remove vegetation growing around the fence, as it can weaken the structure.
- Replace rusted sections if corrosion begins to affect the netting.
With proper installation and care, galvanised steel rabbit netting can last for years, providing an effective barrier against rabbits and other pests.
Final Checklist for Installing Rabbit Netting
✔ Mark the fence line before installation
✔ Use sturdy fence posts spaced 2.5m apart
✔ Install 2mm or 2.5mm tension wire at the top and bottom
✔ Secure the netting to posts with staples or clips
✔ Bury 150mm of netting to create a burrowing barrier
✔ Check for gaps or loose sections before finishing
✔ Inspect regularly for signs of wear and repair as needed
Installing rabbit netting is a simple yet effective way to protect your land, garden, or farm from unwanted pests. By following this guide and using galvanised steel rabbit netting from The Mesh Company, you can ensure that your fence remains durable, reliable, and resistant to rabbit burrowing.
For all your rabbit-proof fencing needs, check out our full range of rabbit netting products here.
As always, thank you for checking out our blog. We hope that this helps you with your project. We try to launch a couple of new guides every week. Eventually we will have covered everything there is to cover about mesh.
You may be interested in our blog that explores how to build a chicken coop.
Our goal for our blogs and help guides is to answer as many questions as possible to help to explain the possibilities of mesh to our customers.
- The UK's Largest Range Of Mesh Products
- Immediate Express Dispatch From Stock
- FREE UK Delivery Included
- Tracked Delivery with Order Updates
- 30-Day Returns Accepted
- Top Rated Customer Service
