

We value your privacy
We use cookies to enhance your browsing experience, serve personalised ads or content, and analyse our traffic. By clicking "Accept All", you consent to our use of cookies. Cookie Policy
We use cookies to help you navigate efficiently and perform certain functions. You will find detailed information about all cookies under each consent category below.
The cookies that are categorised as "Necessary" are stored on your browser as they are essential for enabling the basic functionalities of the site....
Necessary cookies are required to enable the basic features of this site, such as providing secure log-in or adjusting your consent preferences. These cookies do not store any personally identifiable data.
This cookie stores your consent preferences for cookies on this website.
Functional cookies help perform certain functionalities like sharing the content of the website on social media platforms, collecting feedback, and other third-party features.
No cookies to display.
Analytical cookies are used to understand how visitors interact with the website. These cookies help provide information on metrics such as the number of visitors, bounce rate, traffic source, etc.
No cookies to display.
Performance cookies are used to understand and analyse the key performance indexes of the website which helps in delivering a better user experience for the visitors.
This cookie is used by Google Analytics and distinguishes unique visitors on the website.
This cookie is used by Google Analytics to track visitor activities on the website.
This cookie is used by Google Analytics and stores a unique value for each page visited and tracks page views.
This cookie is used by Google Analytics and tracks a visitors session.
Advertisement cookies are used to provide visitors with customised advertisements based on the pages you visited previously and to analyse the effectiveness of the ad campaigns.
This cookie is used by Doubleclick and contains information about a visitor's past visit to other websites that have advertisements from Doubleclick.
This cookie is used by Google AdSense for experimenting with efficiency across websites that use Google Ads.
This cookie is used by DoubleClick to check if a visitor's browser supports cookies.


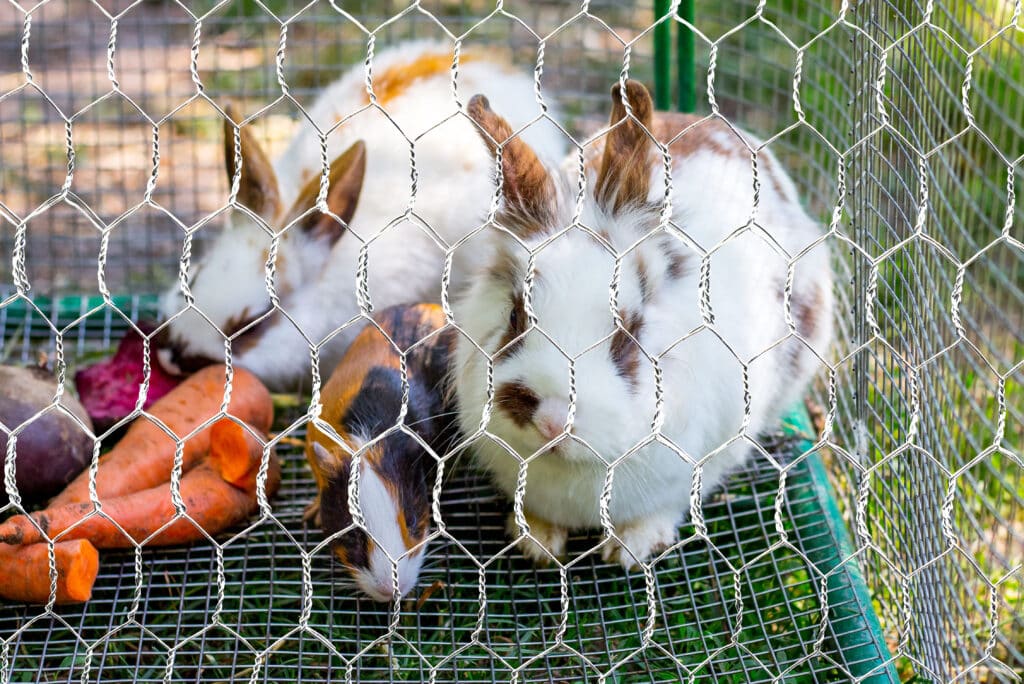
Welcoming a flock of chickens into your garden isn’t just about ensuring they have a cosy coop to roost in; it’s also about protecting them from potential predators with a secure chicken run.
In our experience, the key to predator-proofing is selecting the right materials and construction techniques.
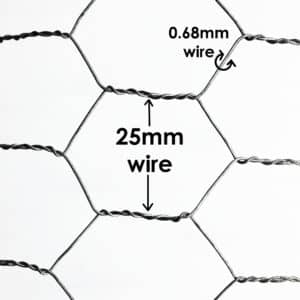
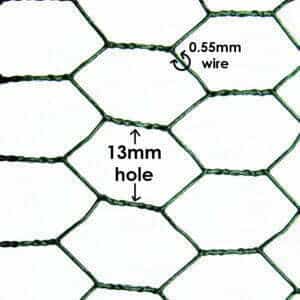
In this guide, we’ll show you how to create a safe haven for your poultry using our extremely popular 13mm galvanised steel mesh – a durable and reliable choice that’s well-suited to the UK climate. The 13mm holes are ideal because they offer the tightest structure out of all chicken mesh options.
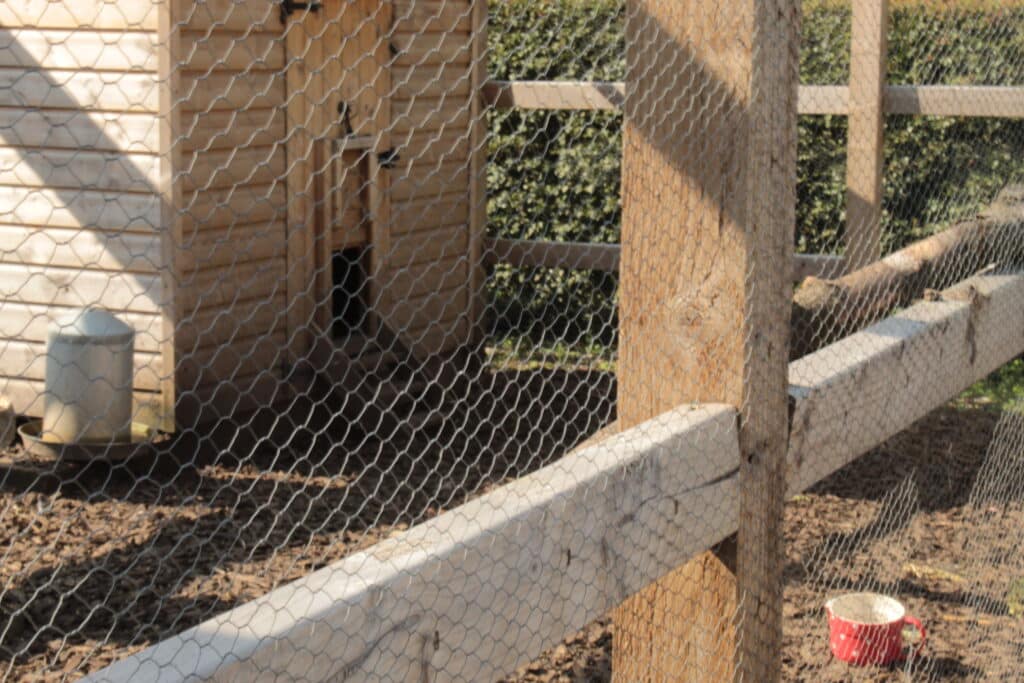
The Importance of Predator-Proofing: Before delving into the ‘how-to’, let’s understand the ‘why’. Chickens can fall prey to a variety of predators such as foxes, birds of prey, and even neighborhood cats and dogs. A sturdy chicken run is your first line of defence against these threats. We used this mesh to build our chicken coop several years ago and have had zero issues with predators.
Why Choose 13mm Galvanised Steel Mesh: 13mm galvanised steel mesh offers the optimal balance between visibility, air flow, and protection. Its galvanisation process provides a protective zinc coating that resists rust and corrosion, which is particularly important in the damp British climate. Which we in the North West know better than most.
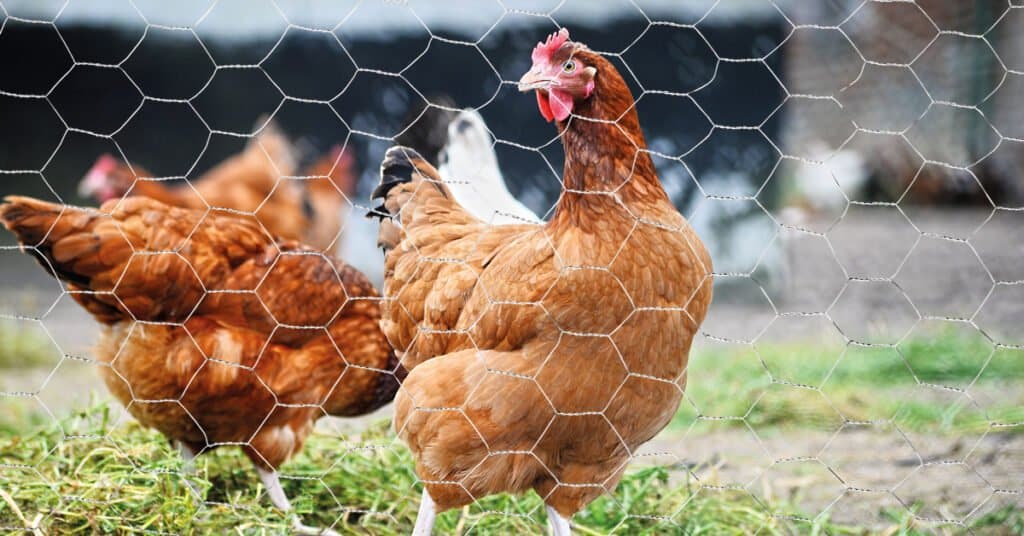
Assessing Your Space: Start by assessing the space where you plan to build your chicken run. Consider the size of your flock and the amount of space each chicken will need. As a rule of thumb, each chicken requires at least 1 square metre of outdoor space.
Designing for Durability and Access: When designing your chicken run, think about the long-term durability and how you’ll access the area for cleaning and feeding. A human-sized door is a must for easy entry.
You will need:
Choosing Quality Materials: Opt for high-quality, pressure-treated wood to ensure the structural integrity of your chicken run. You can [link to a reputable supplier] to find the best options available.
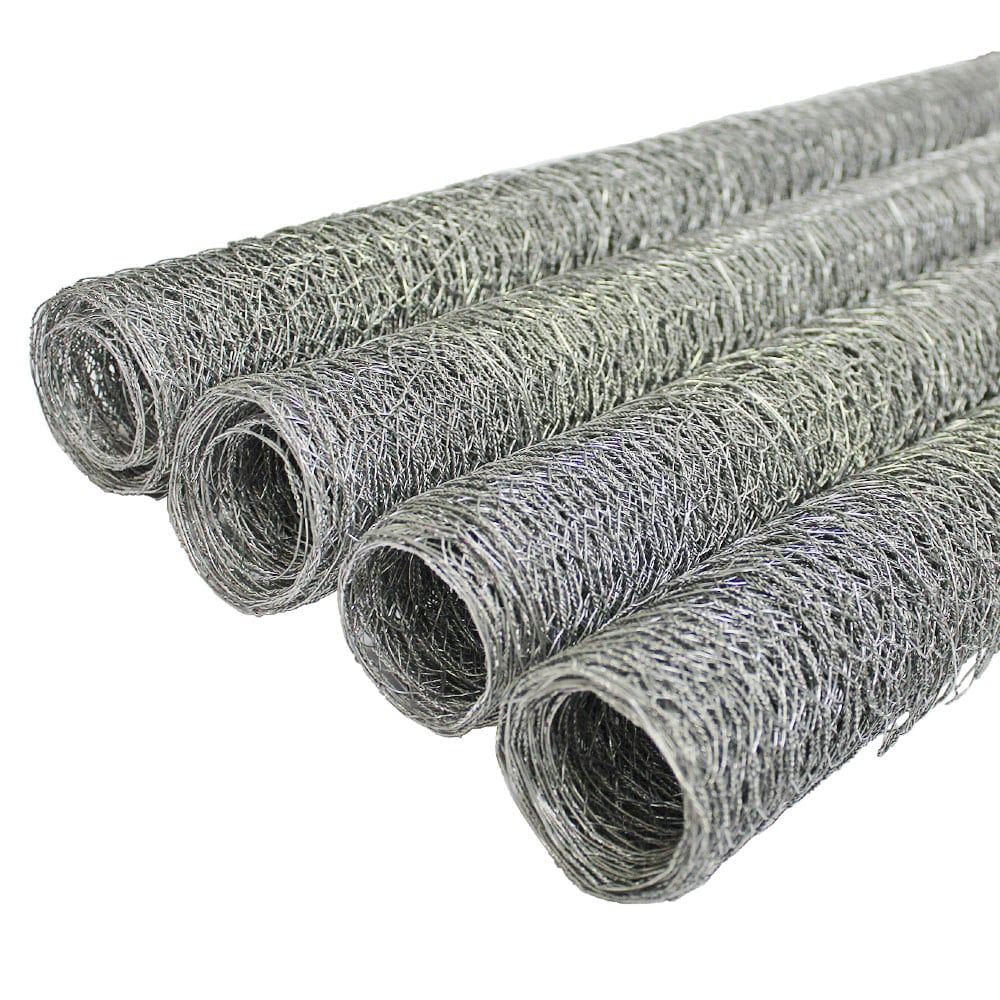
Constructing a Solid Frame: Creating a solid frame is the cornerstone of building a predator-proof chicken run. It’s the framework that will support every other element of the structure and, as such, requires careful planning and execution. The longevity and resilience of your chicken run hinge upon a robust foundation — one that withstands the elements and deters even the most persistent of predators.
Begin by selecting the appropriate timber for the frame. Pressure-treated wood is ideal for outdoor structures as it is designed to resist decay and insect infestations. The size of the timber should reflect the size of the run; for a standard-sized run, 2×4 inches (50mm x 100mm) timber offers a good balance between strength and weight.
To ensure stability, consider the terrain where you will place the chicken run. If it’s uneven, you might need to level the ground beforehand or design the frame to accommodate the irregularities without compromising the structure’s integrity.
When cutting your timber to size, double-check measurements to ensure accuracy. Remember, any inaccuracies could lead to a misaligned frame, which is less secure and more vulnerable to being compromised by predators.
Once your wood is prepared, organise the base of your frame on the ground in the shape of your run. Squareness is critical to the overall strength of the frame. Without a true 90-degree angle at each corner, the frame can be unstable. To check for square, measure the diagonals of the structure — they should be equal. If they aren’t, adjust the timber until they match.
After the base is laid out, it’s time to construct the vertical supports. These should be evenly spaced along the perimeter, providing ample support for the mesh and any roofing material you choose to add later. The height of the vertical supports will depend on the desired height of your run, but ensure it’s tall enough to walk inside for easy maintenance.
To assemble the frame, use galvanised screws for added durability, as they are resistant to rust. L-brackets or heavy-duty corner braces should be employed at each corner, adding rigidity to the structure. For additional support, cross-bracing can be used, especially on larger frames where the middle may be prone to sagging.
Consider the door at this stage of your build. The frame should include a sturdy door frame that can support a secure door, which is essential for accessing the chicken run for maintenance and care tasks. Make sure the door frame is reinforced, as this will be one of the most used — and therefore potentially vulnerable — parts of your chicken run.
Step-by-Step Frame Assembly: With the planning and preparation phase complete, the actual assembly of your chicken run’s frame can commence. Here is a step-by-step process to ensure a strong, predator-resistant structure:
Laying Out the Frame Base: Position the timber for the base of the frame on a flat surface, aligning each piece of timber according to your design.
Securing the Corners: Attach the L-brackets or corner braces at each corner of the base frame using galvanised screws. Use at least two screws per side of the bracket to secure the timber together firmly.
Checking for Square: Once the base is assembled, measure diagonally between opposite corners to check for square. If the measurements differ, adjust the timber until they are equal.
Attaching Vertical Supports: Space out and erect the vertical supports along the base frame. These should be screwed into place, ensuring that each is perpendicular to the base using a spirit level. For added strength, you can use additional corner braces where the vertical supports meet the base.
Adding the Top Frame: Construct the top part of the frame that will mirror the base, affixing it to the top of the vertical supports. This will provide the upper support for the mesh and the roofing structure if needed.
Reinforcing the Structure: Depending on the size of your run, you may want to add cross-bracing between the vertical supports. This will prevent the frame from swaying and increase its resistance to external pressures.
Creating a Door Frame: The door frame should be built using the same principles of strength and squareness. Reinforce the door area with additional timber bracing, ensuring that it remains well aligned with the rest of the structure.
Final Checks: Walk around the frame and double-check every joint, every screw, and ensure that all braces are tight and secure. Make any adjustments as needed.
Remember, your frame is not just a structure; it’s the backbone of your chicken run.
Taking the time to measure twice, cut once, and double-checking all your work will pay off in the end with a chicken run that will stand the test of time and keep your chickens safe from predators. As Abraham Lincoln wisely said:
“Give me six hours to chop down a tree and I will spend the first four sharpening the axe.”
Cutting the Mesh: Measure and cut the galvanised steel mesh with wire cutters. Always wear gloves to protect your hands from sharp edges. There are a lot of wires in this structure so do take care not to cut the back of your hands.
Securing the Mesh to the Frame: Start at one corner and use a staple gun to attach the mesh onto the frame. Ensure the mesh is taut to prevent any sagging.
The Risk Below: Predators can dig, so it’s essential to secure the base of your chicken run. Burying the mesh at least 30 centimetres underground will discourage digging.
Our advise is to use chicken wire above ground, and a heavier mesh below to prevent digging animals.
Installing an Underground Barrier: Dig a trench around the perimeter and lay the mesh flat into it before backfilling the soil. This creates an underground barrier that’s difficult for predators to bypass.
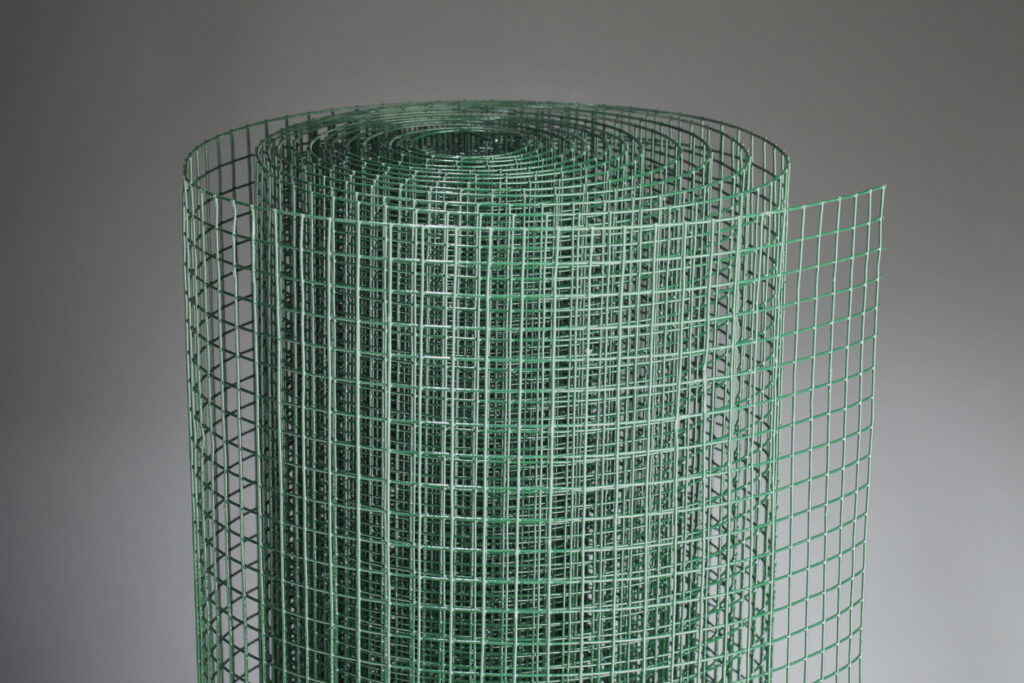
We used 1/2″ welded mesh on our own structure. This has proven to be perfect for the task.
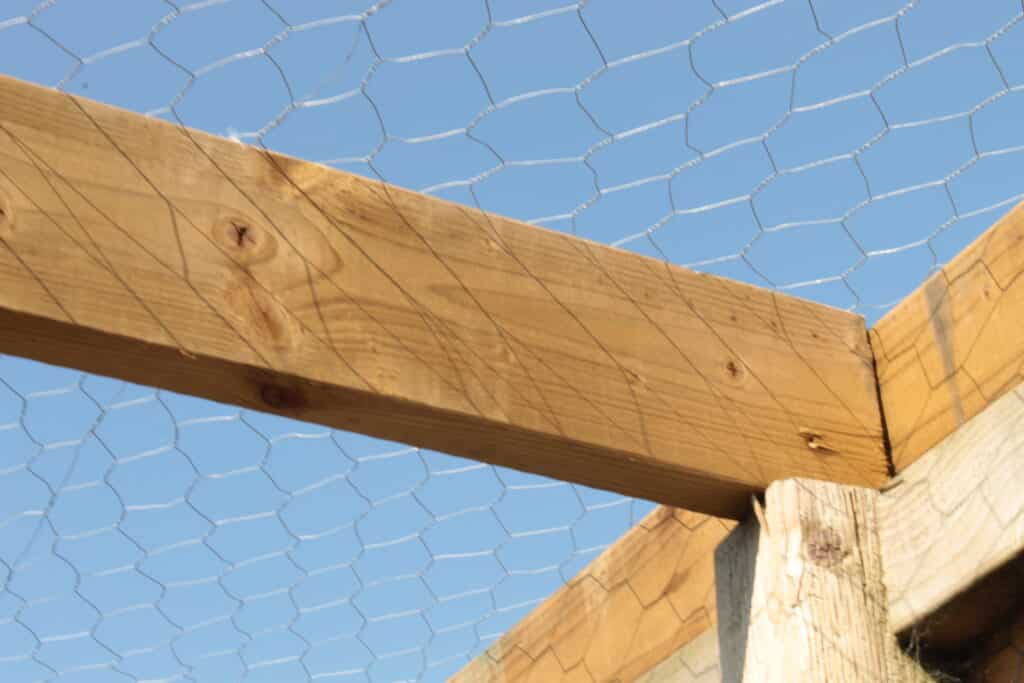
To Roof or Not to Roof: While not always necessary, a roof can provide additional protection from climbing predators and aerial threats like birds of prey.
Constructing a Mesh Roof: If you decide on a roof, you can construct one using the same materials as the walls. Ensure it’s angled to prevent water accumulation, which is a common concern in the UK’s rainy weather. We used this mesh on our chicken wire construction and it has worked perfectly. The important factor is having enough support beams and a taut structure.
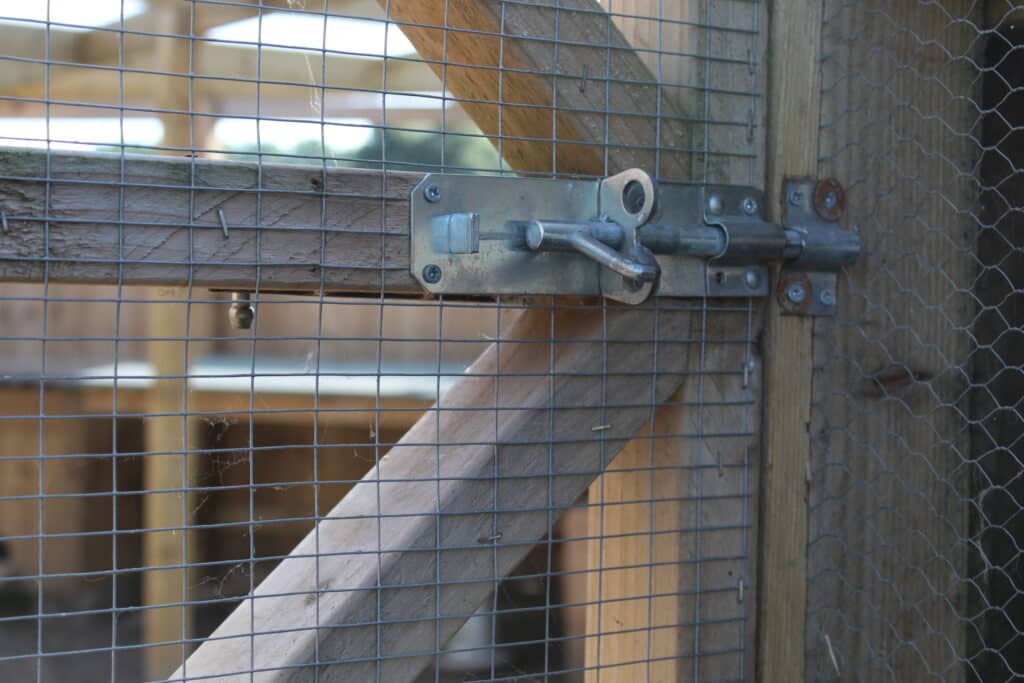
Door Installation: A sturdy door is crucial. Use heavy-duty hinges and a strong latch to prevent predators from forcing their way in.
Ensuring the Door is Secure: Double-check that the door closes snugly against the frame with no gaps. A sliding bolt or a padlock can add an extra layer of security.
We used more of the welded wire mesh for our door, but chicken wire works equally well.
Regular Checks and Repairs: Inspect your chicken run regularly for any signs of damage or wear and tear. Prompt repairs are essential to maintain the integrity of the predator-proofing.
Cleaning and Hygiene: Keeping the run clean is crucial for the health of your chickens. Design your run with easy cleaning in mind.
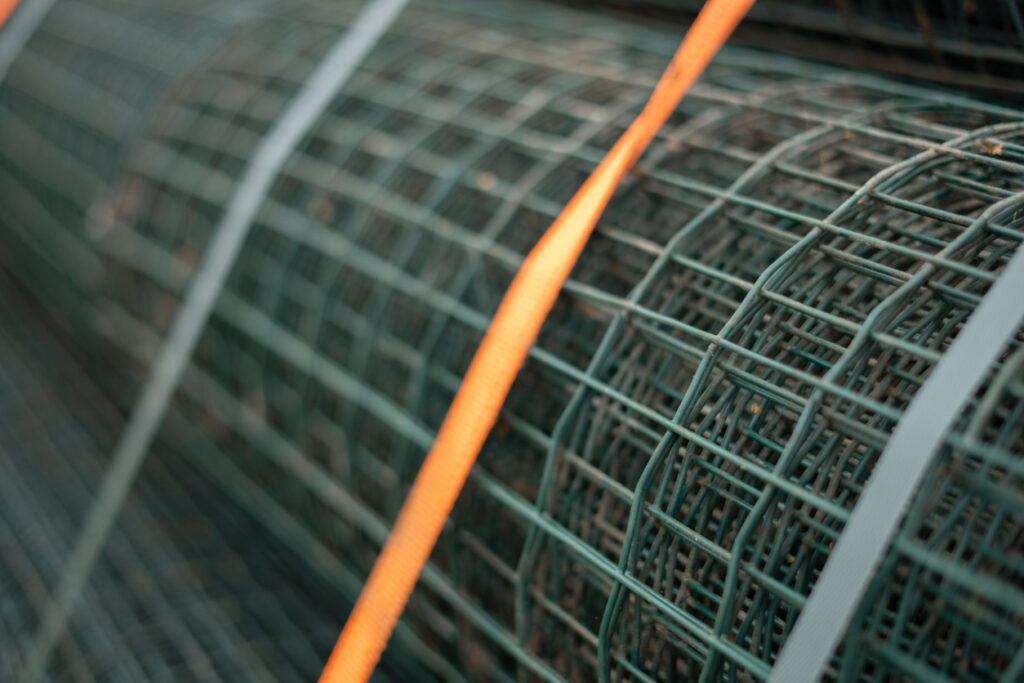
No problem at all. We offer 13mm chicken wire as green pvc coated mesh too. This is an extremely popular option due to the added aesthetic appeal.
Building a predator-proof chicken run requires effort and attention to detail. By following the steps outlined and using 13mm galvanised steel mesh, you can create a safe and secure outdoor space for your chickens to enjoy. With the right materials and a bit of DIY spirit, your feathered friends will thrive in their new environment, safe from harm.
Remember, the safety and wellbeing of your chickens are paramount, and a well-built chicken run is an investment in their future. If you’re looking to purchase 13mm galvanised steel mesh or need further advice on constructing your chicken run, don’t hesitate to contact us for more details.
As always, thank you for checking out our blog. We hope that this helps you with your project. We try to launch a couple of new guides every week. Eventually we will have covered everything there is to cover about mesh.
You may be interested in our blog that explores how to build a chicken coop.
Our goal for our blogs and help guides is to answer as many questions as possible to help to explain the possibilities of mesh to our customers.

The largest range of wire mesh, chicken wire, wire fencing, woven wire mesh and perforated metal products in Europe, delivered direct from our Warrington warehouse.


Website by: Beech Web Services | Terms and Conditions | Cookie Policy | Privacy Policy | Website Terms and Conditions